

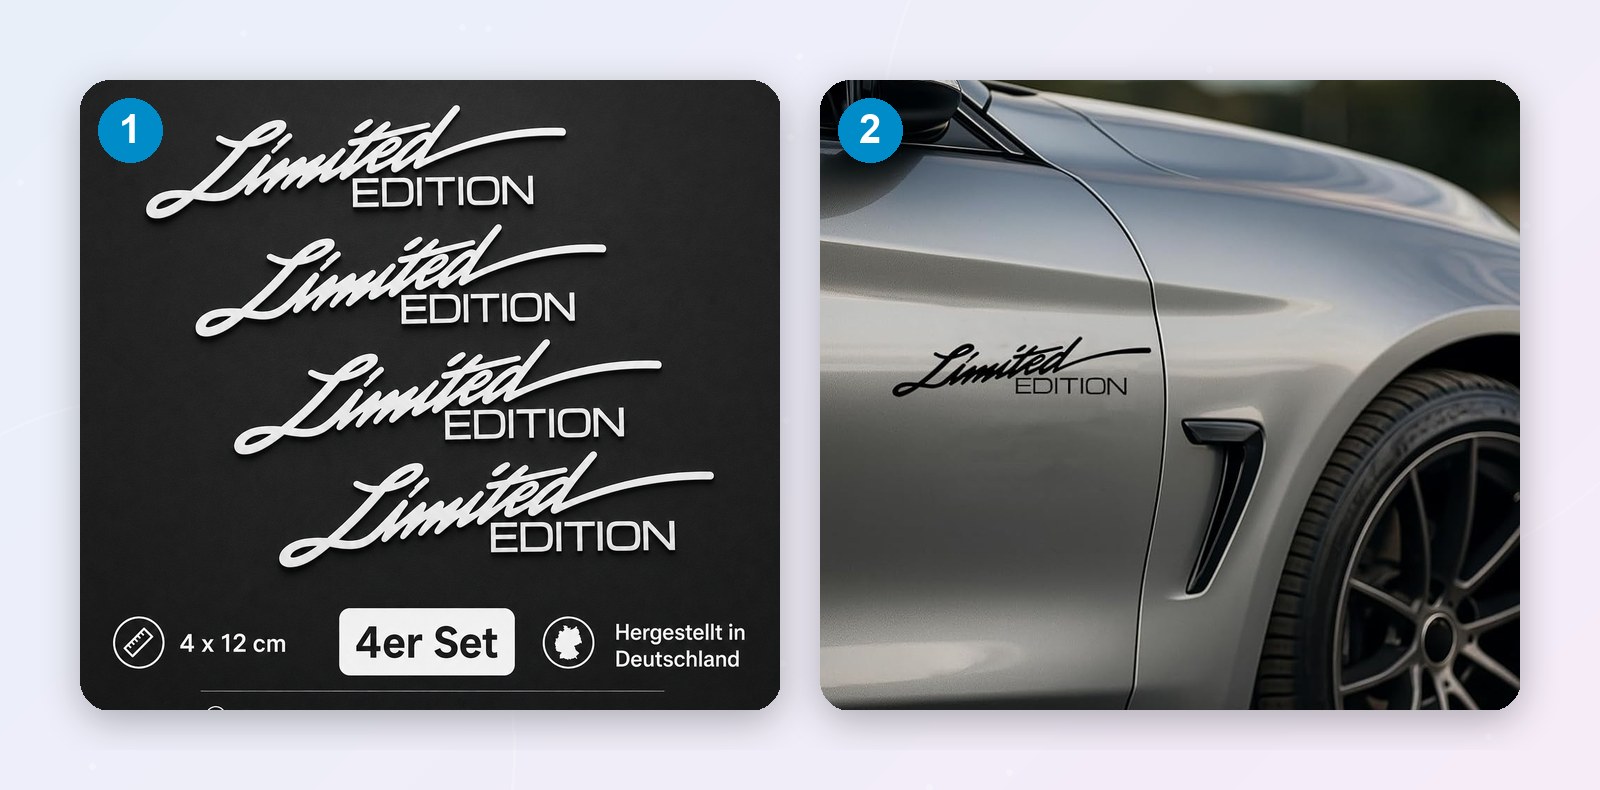
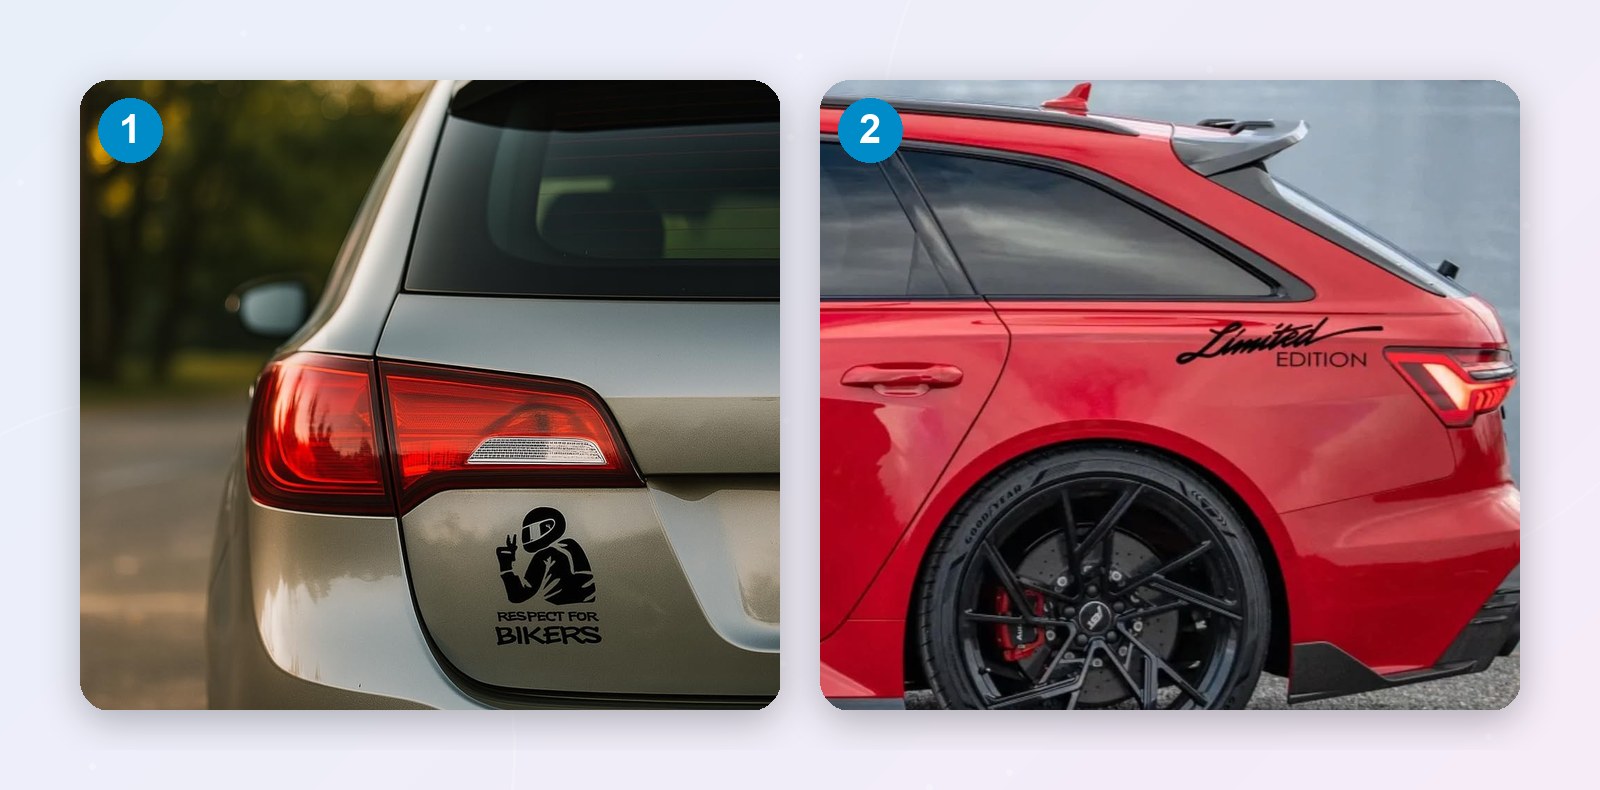
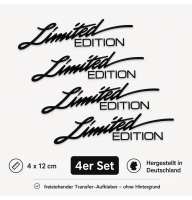
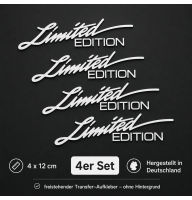
A sticker can be as beautiful as you like – if it sits crooked or is full of bubbles, it will annoy you every day. The good news: with a little preparation you will get it right the first time. We show you how using our free-standing transfer stickers such as Limited Edition or Respect for Bikers.
What you need
- glass cleaner or isopropyl alcohol and a lint-free cloth
- masking tape
- a squeegee – an old loyalty card will do in a pinch
- a tape measure
- a little patience: allow 10–15 minutes
The right moment
Ideally apply stickers in dry weather at temperatures of roughly 10 to 25 °C. If it is too cold, the adhesive sticks less well; in blazing sun on hot paint the film becomes soft and hard to correct. A shady spot or a garage is ideal.
Step by step
- Clean the surface. Wash, let it dry and degrease with isopropyl alcohol. No wax, no polish – the sticker will not hold on them.
- Set the position. Place the sticker with its backing paper, align it with the tape measure and fix the top edge with a strip of masking tape – like a hinge.
- Remove the backing paper. Flip the sticker up on the hinge and slowly peel off the backing paper. The design stays on the clear transfer film.
- Press it down. Flip it back and press firmly with the squeegee from the centre outwards. This pushes the air out.
- Remove the transfer film. Pull the film back slowly and flat, almost parallel to the surface. If part of the design lifts with it: lay the film back, press again and retry.
Common mistakes
| Mistake | Result | Do this instead |
|---|---|---|
| Paint not degreased | The sticker lifts at the edges | Clean with isopropyl alcohol |
| Applying in blazing sun | The film stretches, the design distorts | Apply in the shade or in a garage |
| Transfer film pulled off too fast | Fine details stay stuck to the film | Pull slowly and flat |
| Car wash straight away | Edges may lift | Wait 2–3 days |
Small bubbles? No problem
If an air bubble remains, prick it with a fine needle and press the air out with your finger. Larger bubbles are best pushed outwards with the squeegee while pressing the sticker down.
After application
Give the adhesive time to bond with the surface: wait two to three days before going through a car wash, and later do not aim a pressure washer directly at the edges. Then you will enjoy your sticker for a long time.
Write a comment